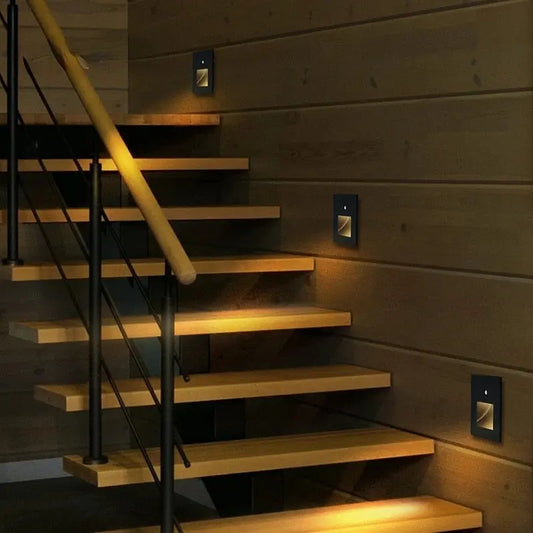
Recessed lighting offers a sleek, modern way to illuminate your home. This guide will walk you through the process of installing recessed lights, ensuring you achieve the perfect ambiance in any room.
Planning Your Recessed Lighting Installation
Before you begin, it's crucial to plan your lighting layout carefully. Consider the following factors:
- Room size and ceiling height
- Desired lighting intensity
- Existing electrical infrastructure
- Placement of furniture and focal points
For optimal results, space your recessed lights 4 to 6 feet apart, creating a grid pattern across the ceiling. This arrangement ensures even illumination throughout the room.
Choosing the Right Recessed Lights
Selecting the appropriate recessed lights is crucial for achieving your desired lighting effect. Consider these options from Seus Lighting's recessed lighting collection:
Gathering Necessary Tools and Materials
Before you start, ensure you have the following tools and materials:
- Recessed light fixtures
- Electrical wire and connectors
- Drywall saw or hole saw
- Voltage tester
- Screwdriver and pliers
- Safety goggles and gloves
Don't forget to check out Seus Lighting's light bulb collection for compatible bulbs that match your chosen fixtures.
Step-by-Step Installation Process
Follow these steps to install your recessed lighting:
- Turn off the power at the circuit breaker.
- Mark the ceiling for fixture placement using a template.
- Cut holes in the ceiling using a drywall saw or hole saw.
- Install electrical boxes and run wiring (consult an electrician if needed).
- Connect the wiring to the recessed light fixtures.
- Secure the fixtures in place according to the manufacturer's instructions.
- Install trim and light bulbs.
- Restore power and test the lights.
Special Considerations for Different Ceiling Types
The installation process may vary depending on your ceiling type:
- For drop ceilings, follow this comprehensive guide.
- In existing drywall ceilings, use remodel housings designed for retrofit installations.
- For new construction, install the housings before the drywall is hung.
Always ensure proper insulation and air-sealing around the fixtures to maintain energy efficiency.
Finishing Touches and Troubleshooting
After installation, consider these final steps:
- Adjust the trim for a flush fit with the ceiling
- Install dimmer switches for added ambiance control
- Check for any flickering or buzzing, which may indicate loose connections
Enhancing Your Space with Recessed Lighting
Recessed lighting can transform various rooms in your home. Consider these applications:
Explore more room-specific lighting ideas in our Shop By Room collection.
Maintenance and Care
To keep your recessed lighting in top condition:
- Dust fixtures regularly with a soft cloth
- Replace bulbs promptly when they burn out
- Check and tighten connections annually
- Consider upgrading to LED bulbs for longevity and energy savings
Energy Efficiency
75% less energy
Longevity
Up to 50,000 hours
Cost Savings
$100 per year
Environmental Impact
50% less CO2 emissions
Recessed Lighting Installation Cost Calculator
Estimate the cost of installing recessed lighting in your space.
Key Takeaways for Recessed Lighting Installation
Installing recessed lighting is a rewarding project that can significantly enhance your home's ambiance and functionality. With careful planning and the right tools, you can achieve professional-looking results. Remember to prioritize safety and consult a professional electrician for complex installations or if you're unsure about any step in the process.
For more lighting inspiration and products, browse our Shop By Lighting collection and create the perfect illumination for every corner of your home.


