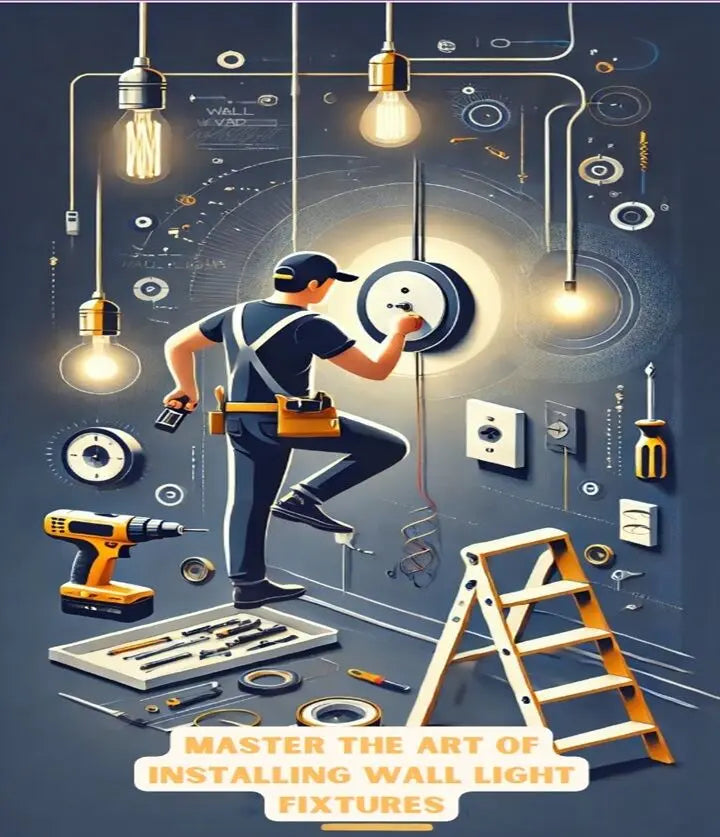
Upgrading your home's lighting can dramatically change its ambiance. Installing a wall light fixture is a practical DIY project that can enhance your living space. This guide will walk you through the process, ensuring you can safely and effectively install your new wall lights.
Preparing for Installation
Before you begin, gather all necessary tools and materials. Safety should be your top priority when working with electrical components.
Essential Tools and Materials
- Screwdriver set for various screw sizes
- Wire strippers for removing insulation from electrical wires
- Voltage tester to check for electricity presence
- Wire nuts for joining electrical wires
- Mounting bracket to secure the light fixture
- Wall anchors (if needed) for drywall or plaster installation
- New wall light fixture
- Safety glasses and gloves for protection
Choosing the right wall light fixture is crucial. Consider the style, size, and functionality that best suits your space.
Removing the Existing Fixture

If you're replacing an old fixture, follow these steps:
- Turn off power at the circuit breaker.
- Use a voltage tester to ensure no current is flowing.
- Carefully remove the old fixture and disconnect the wires.
- Inspect the electrical box for any damage or wear.
For more detailed guidance on working with older homes and limited wiring, check out this helpful guide.
Installing the Mounting Bracket

The mounting bracket is the foundation of your new wall light fixture. Secure it properly to ensure stability:
- Select a mounting bracket compatible with your new fixture and electrical box.
- Attach the bracket to the electrical box using the provided screws.
- Ensure the bracket is level and securely fastened.
Connecting the Wires

Proper wire connection is crucial for safety and functionality:
Common Wire Color Codes
- Strip about 3/4 inch of insulation from each wire.
- Connect matching colors: black to black, white to white, and green/bare to green/bare.
- Secure each connection with a wire nut, twisting clockwise until tight.
- Gently tug on each wire to ensure connections are secure.
Mounting the New Wall Light Fixture
With the wiring complete, it's time to mount your new fixture:
- Carefully tuck the wires into the electrical box.
- Align the fixture with the mounting bracket.
- Secure the fixture using the provided screws or mounting mechanism.
- Install light bulbs and any decorative elements.
For additional insights on fixture placement, check out this article on effective light placement.
Final Steps and Testing
Before calling it a job well done, follow these final steps:
- Turn the power back on at the circuit breaker.
- Test the new wall light fixture by turning it on and off.
- Check for any unusual sounds, smells, or flickering.
- Make any necessary adjustments to the fixture's position or wiring.
Maintenance and Customization
To keep your new wall light fixture looking and functioning its best:
- Regularly dust and clean the fixture according to manufacturer instructions.
- Replace bulbs promptly when they burn out.
- Consider adjustable fixtures for versatile lighting options.
Explore customization options to make your lighting truly unique to your space.
Your Complete Guide to Wall Light Fixture Installation
Installing a wall light fixture is a rewarding DIY project that can significantly improve your home's lighting and atmosphere. By following these steps and prioritizing safety, you can successfully add beautiful and functional wall lights to any room.
Remember to consult a professional electrician if you encounter any challenges or feel unsure about any part of the process. And don't forget to explore Seus Lighting's collection for inspiration on your next lighting project!


