Recessed lighting can transform your living spaces, providing a sleek and modern look while offering functional illumination. This guide will walk you through the process of installing recessed lighting in your home, from planning to the final touches.
Planning Your Recessed Lighting Layout
Before you begin, it's crucial to plan your lighting layout carefully. Consider the following factors:
- Room size and function
- Existing electrical sources
- Ceiling joist locations
- Desired light intensity and distribution
For a comprehensive selection of recessed lighting options, check out our Recessed Lighting Collection.
Gathering Necessary Tools and Materials
To install recessed lighting, you'll need the following tools and materials:
Key Points for Recessed Lighting Installation
- Tools needed: Recessed light fixtures, electrical wire, drywall saw, electrical tester, screwdriver, wire strippers, safety gear, ladder
- Room considerations: Living room (10-15 lights), Kitchen (10-15 lights), Bedroom (5-10 lights)
- Installation process: Mark and cut ceiling holes, run electrical wiring, install junction boxes, connect wiring, insert and secure fixtures
- Safety: Use electrical tester to ensure safe connections, wear safety glasses and gloves
Step-by-Step Installation Process
1. Mark and Cut Ceiling Holes
Using a stud finder, locate the ceiling joists and mark where you want to place your lights. Cut holes for your fixtures using a drywall saw or hole saw.
2. Run Electrical Wiring
Turn off the power at the circuit breaker. Run electrical wiring from the power source to each fixture location. Ensure you follow local electrical codes.
3. Install Junction Boxes
Install junction boxes for each light fixture, securing them to the ceiling joists.
4. Connect Wiring
Connect the wiring to each fixture, following the manufacturer's instructions. Use wire nuts to secure connections.
5. Insert and Secure Fixtures
Insert the recessed lighting cans into the ceiling holes and secure them according to the product instructions.
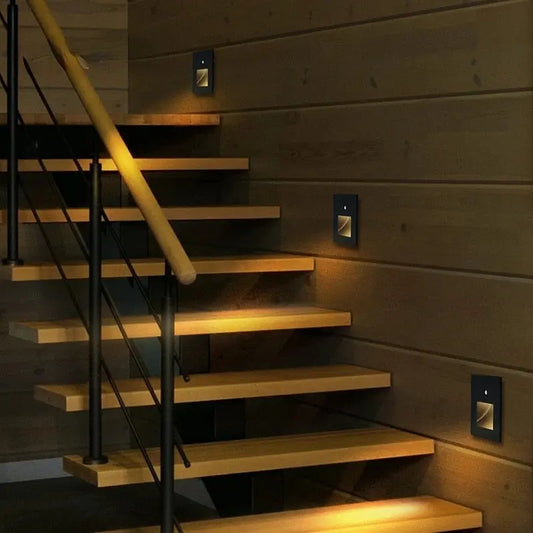
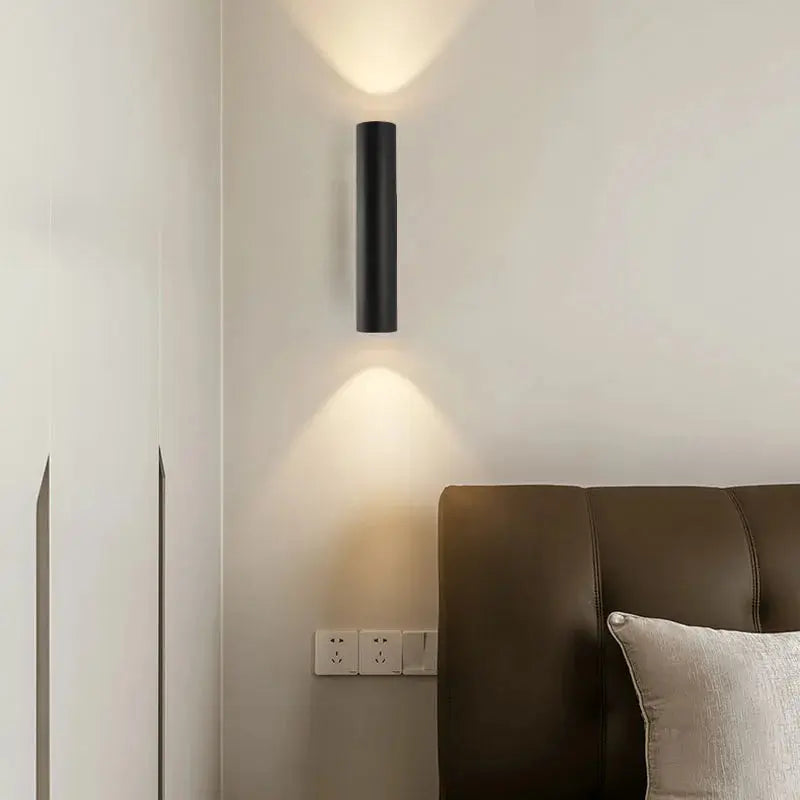
Our LED Recessed Lights for Staircase and Double Head LED Wall Light are excellent options for various spaces in your home.
6. Install Trim and Bulbs
Once the fixtures are secure, install the trim and light bulbs. Ensure the trim fits snugly against the ceiling.
Final Checks and Considerations
After installation, perform these final checks:
- Turn the power back on and test each fixture
- Adjust any trims or bulbs for optimal light distribution
- Check for any gaps between the trim and ceiling
For energy efficiency, consider using LED bulbs in your recessed fixtures. Our LED Strip Lights Collection offers additional options for accent lighting.
Maintenance and Care
To keep your recessed lighting in top condition:
- Regularly dust fixtures and bulbs
- Replace bulbs promptly when they burn out
- Check connections periodically for safety
For more lighting ideas and solutions, explore our Living Room Lighting Collection and Bedroom Lighting Collection.
Customization Options
Recessed lighting offers various customization options to suit your style and needs:
Popularity of Recessed Lighting Styles
For a unique touch, consider our Customize Your Light service to create fixtures that perfectly match your vision.
Conclusion
Installing recessed lighting can significantly enhance the ambiance and functionality of your home. With careful planning and execution, you can achieve a professional-looking result. Remember to prioritize safety and consult a professional electrician if you're unsure about any step in the process.
For more lighting tips and inspiration, check out our blog post on How to Select the Best Lighting Fixtures for Your Home.


